
How to Add a Blog Post in WordPress?
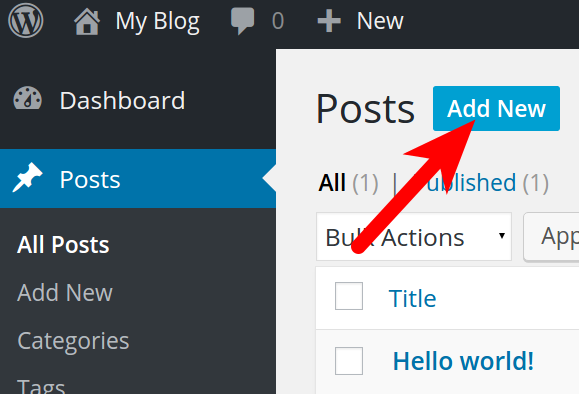
- Log into your WordPress Dashboard.
- Go to Posts.
- Select Add New.
- Use the screen provided to create your post as desired.
- Add images.
- Give the post a category.
- Give the post some tags.
- Upload a featured image.
- Click Publish when you are done creating your post. The post will display on the blogging page of your website.
A. Post Settings
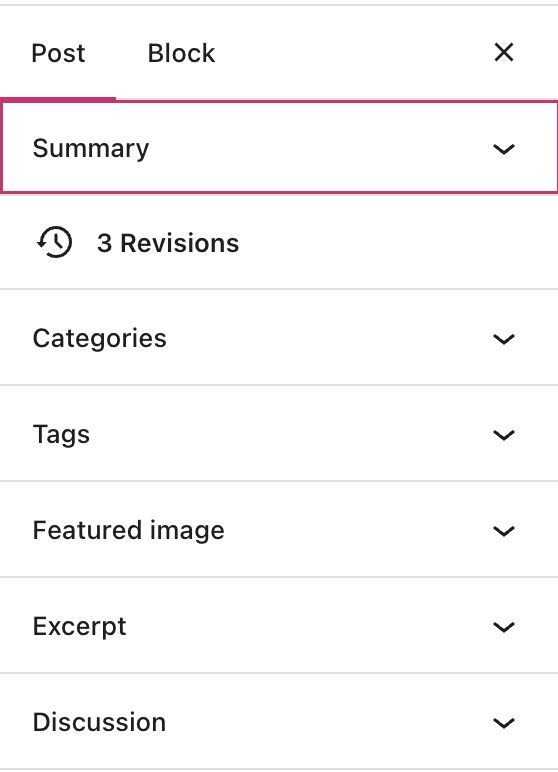
When working on your post, you’ll see the Post settings on the right side of your screen.
If you do not see the sidebar on the right, you may need to click on the Settings icon in the top right corner to bring up the settings. This icon looks like a square with two uneven columns.
- Summary: Tells you basic information about the post, including the author, visibility status, publish date, URL/permalink, and whether the post is sticky or not.
- Revisions: Allows you to see the most recently saved changes to the post.
- Categories: Only shows on Posts. Allows you to add or assign categories to the post.
- Tags: Allows you to add or assign tags to the post.
- Featured Image: Allows you to display a unique custom header image for the post or set a thumbnail for special features of your theme.
- Excerpt: Write a brief excerpt for the post that may appear on various thumbnails throughout the site, or as a preview for search engine results.
- Discussion: Enable comments and pingbacks.
B. Edit and Update an Existing Post
You can edit a post that has already been published.
Go to My Site → Posts and click on the title of the post you would like to edit. This will open the post in the WordPress Editor, where you can add or remove content.
A published post will show an Update button where Publish previously was.
Click Update to push your changes live.
C. Delete a Post
The Trash feature allows you to remove posts without permanently deleting them right away. Items in your trash folder can be restored or permanently deleted up to 30 days after you trash them. After 30 days, they are deleted permanently.
To delete a post, go to My Site → Posts. Click on the ellipses (three dots) menu on the right of any post, then select Trash.
To restore a page that you’ve trashed, view your trash by selecting Trashed at the top of the posts screen. Select the ellipses (three dots) menu on the right and select Restore to bring the post back.
Alternatively, select Delete Permanently to completely delete the post. This is permanent and the post cannot be restored after this action is taken.
D. How to Add a Featured Image to a WordPress Page or Post
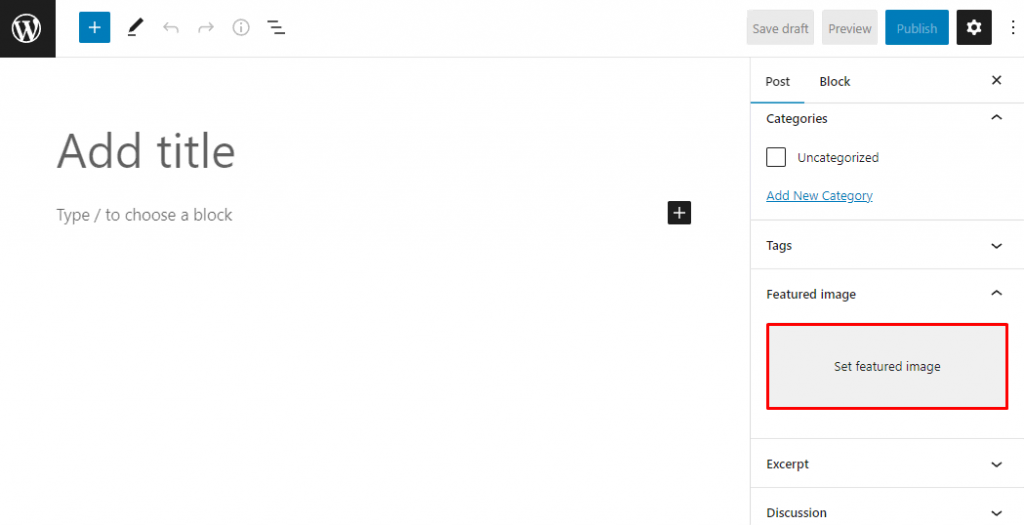
- Open the block editor by navigating to Posts → Add New. Alternatively, select any existing post or page.
- The right sidebar should appear in the block editor. If not, click the Settings button on the top-right corner of the editor.
- Scroll down to the Featured image section and click Set featured image.
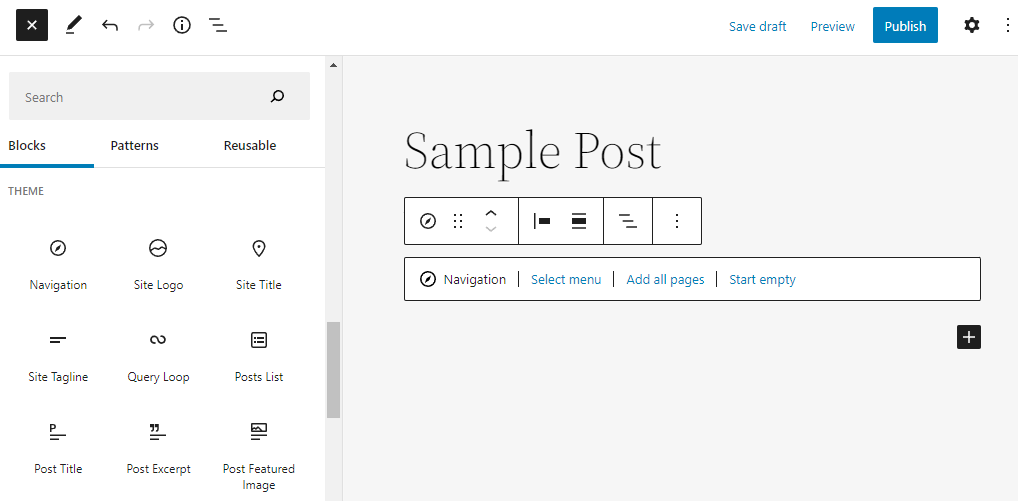
E. Blocks
The old WordPress editor was a TinyMCE editor focused on text editing. The interface was similar to a text editor software, with no visual elements to provide a page or post preview.
In comparison, content blocks allow you to alter the page layout and seamlessly insert various visual and interactive elements – tasks that were not possible using the old classic editor.
Blocks have also improved ease of use in many aspects. For example, embedding external media such as YouTube videos is now as simple as adding the specific block to the content and pasting the video URL.
With the previous editor, such content customization might have required extra HTML code.
Types of WordPress Blocks
There are over 90 blocks available in the latest WordPress version, divided into six categories – text, media, design, widgets, theme, and embeds.
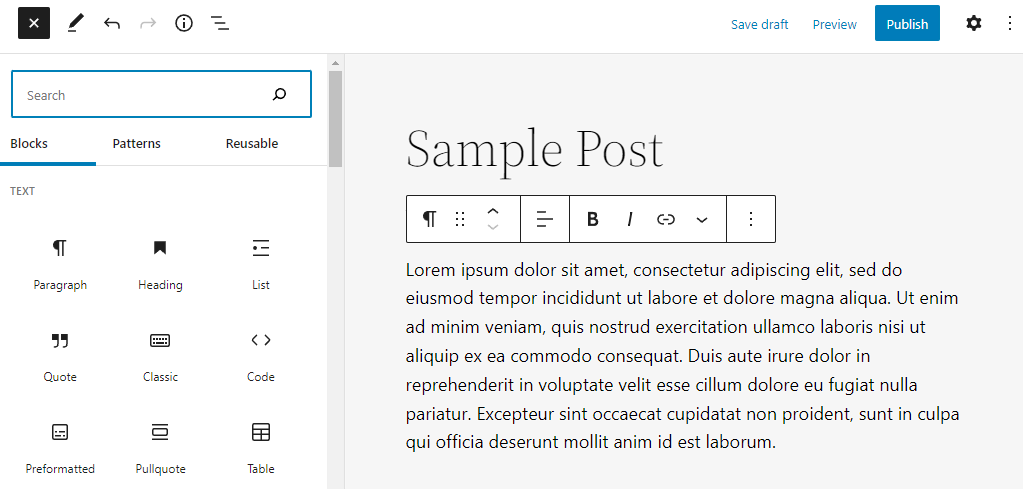
Text Blocks
Text blocks let you add headings, paragraphs, and other text elements to the content. Some of the main text blocks available are:
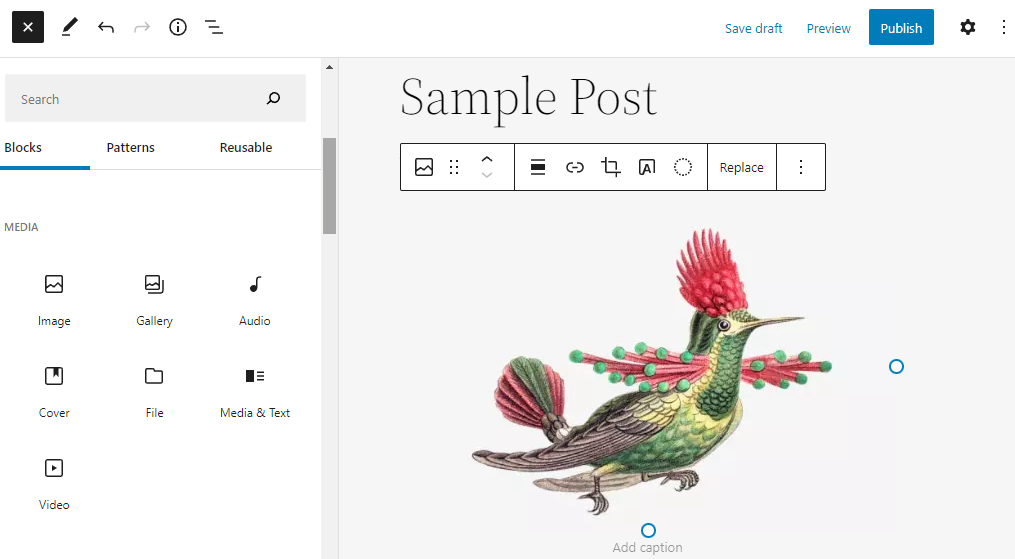
Media Blocks
Media blocks let you upload various files to the media library and embed them in the content.
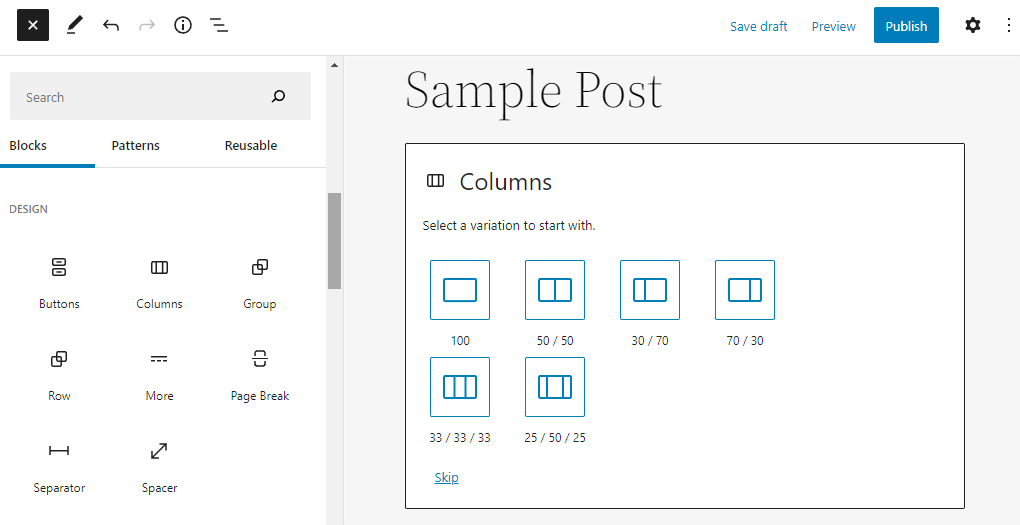
Design Blocks
While this block type doesn’t add content, it helps shape how the content will appear to site visitors.
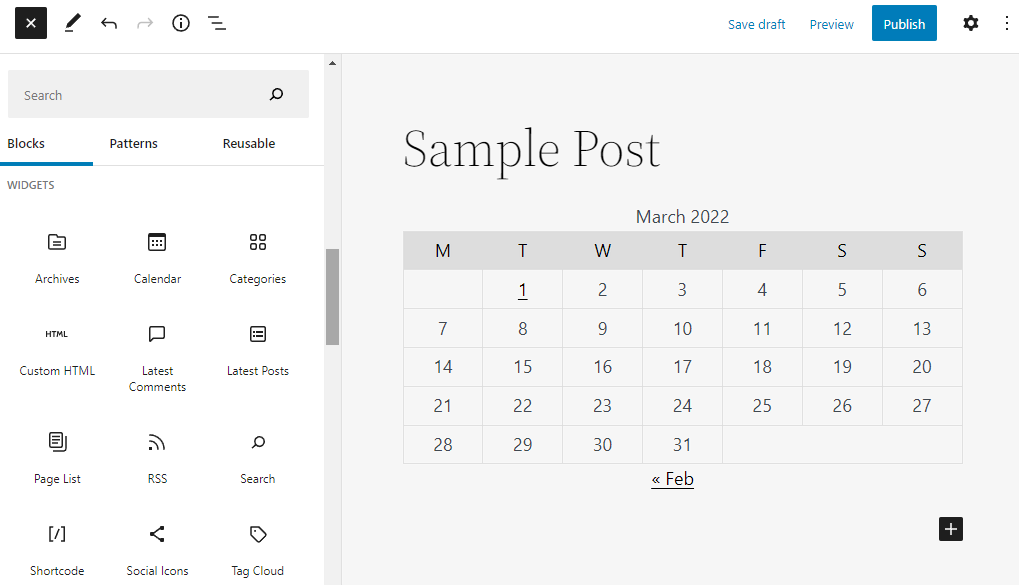
Widgets Blocks
Widgets now come as blocks that you can insert anywhere on the page, including the footer and sidebars.
Theme Blocks
Most theme blocks are dynamic, pulling in content information like post content, query loop, and post comments and displaying them on the site. Several of them are also essential to display the site identity, including the site logo, site title, and site tagline.
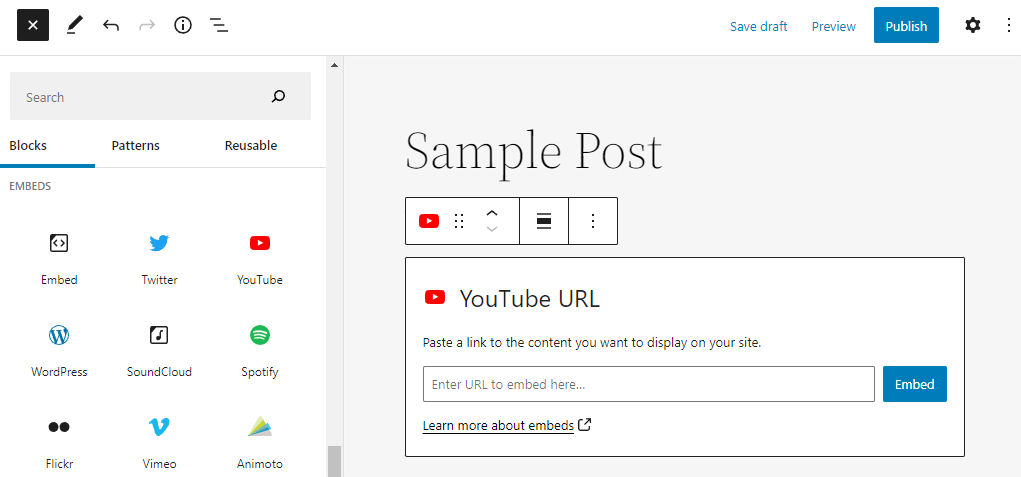
Embeds Blocks
The new block editor lets you easily embed external content by copying and pasting URLs. For example, there’s a dedicated block for embedding a video from YouTube.
F. SEO
In the final phase, the editing phase, you’ll be able to really make your post seo approved. So, let’s look at the five steps you should take in order to optimize your post to the max.
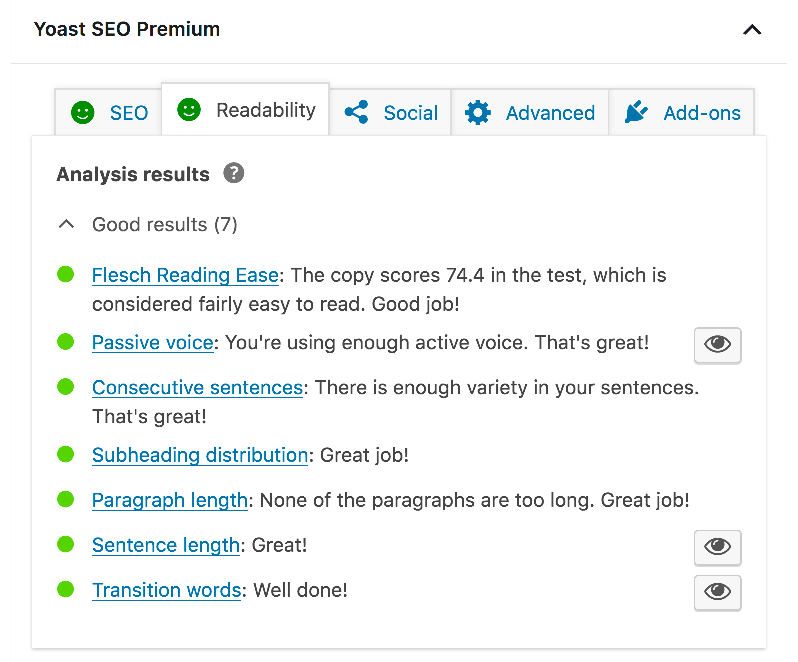
1. Make sure your text is readable
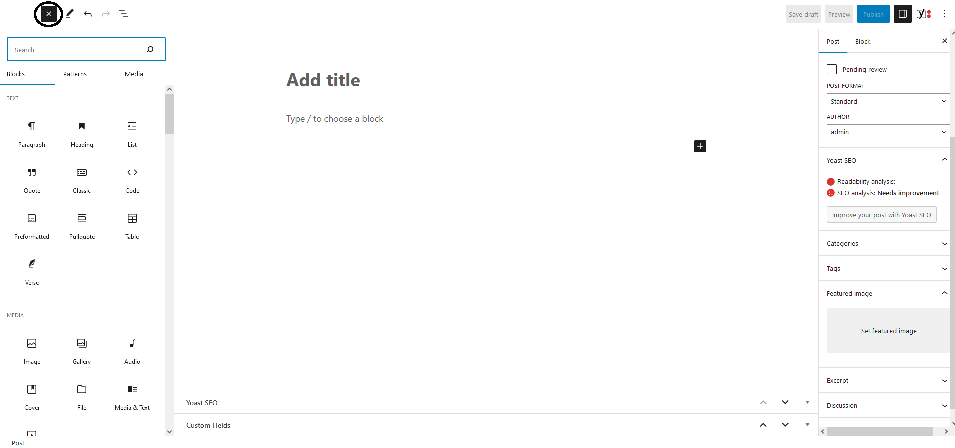
The first step on how to Yoast your post is to check out our readability analysis. You could keep an eye on our readability analysis during your writing phase too, if you like. If your overall readability analysis is green, you’re good to go. But, perhaps, you use sentences that are a little bit too long. Or, you have been using the passive voice too often. Correct those readability issues and make your text nice and easy to read.
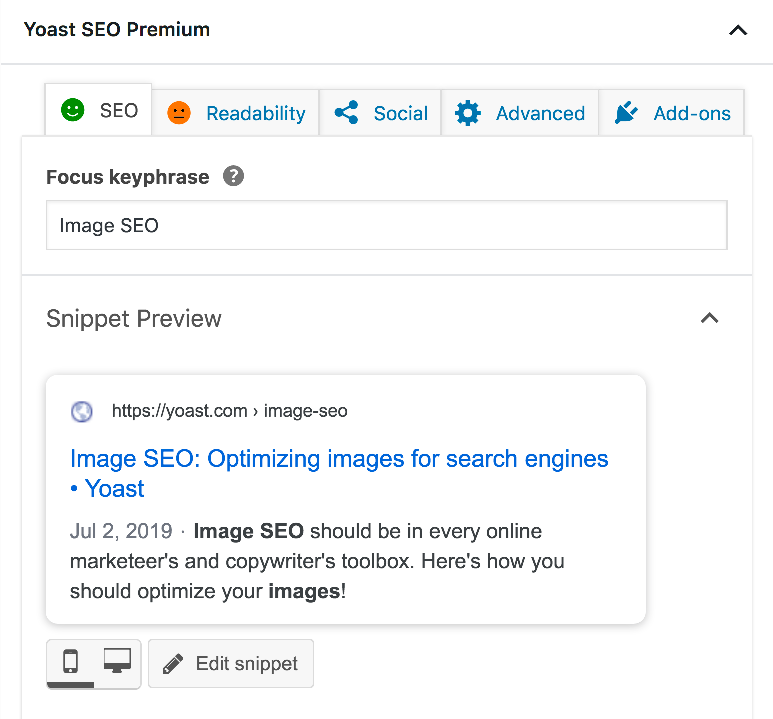
2. Check out your snippet preview
You want people to click on your results in the search result pages. In order to make your result stand out, you need to write a kickass meta description. Let people know they’ll find what they’re looking for on your site! So make an effort and choose a title and a meta description that stand out.
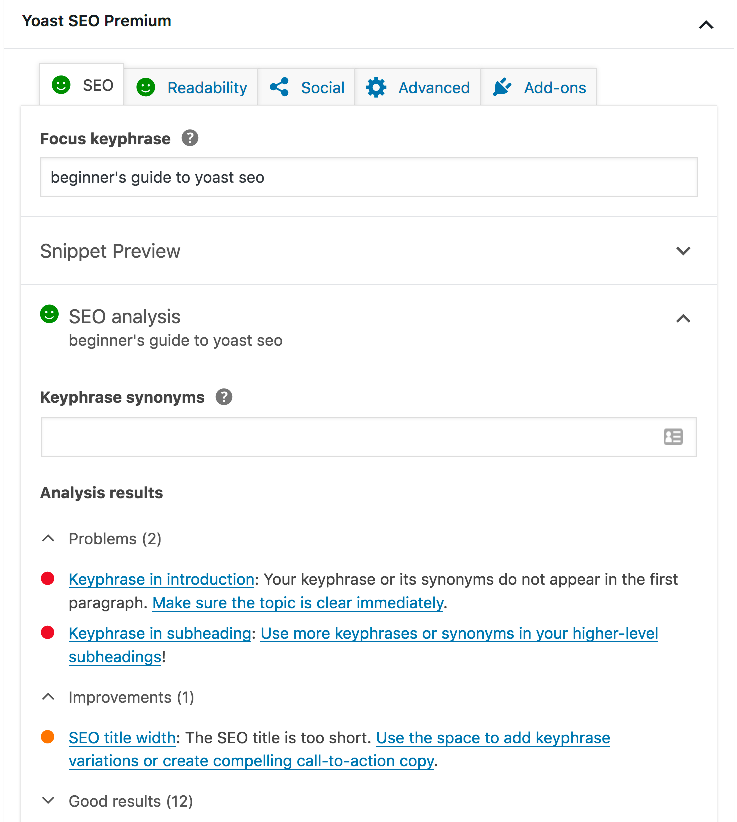
3. Which SEO bullets need improvement?
The third step on how to Yoast your post is to check out the SEO analysis. Which aspects of your SEO need improvement? Perhaps you should use your keyword or its synonym a bit more often? Or maybe you’re already overdoing it? What about headings and images?
Check out the problems and improvements the Yoast SEO analysis indicates. Usually, you can easily make some tweaks that’ll make your copy a little better optimized for the search engines. But don’t overdo it! You do not need all green bullets. If your overall SEO bullet is green, you’re good to go!
4. Add those internal links
To really Yoast your post, we would advise you to take some time to think about your internal linking structure and to work on improving it. Are you linking to your most important articles? Are you linking to the articles that are most closely related to the article you’re currently writing? Make sure your site structure is tip-top. This will pay off in terms of rankings.
5. Read and reread!
Our SEO analysis is a tool. It is not just any tool, we’ve thoroughly evaluated all of the checks in a recent recalibration project. That being said, it remains a tool. You should always think for yourself. Read your blog post after you’re done editing and optimizing. Reread it. Let other people read it. That’s the final step to get your blog post to that next level.
